How to Maintain Your Washing Machine for Longer Life
A licensed GC's field-tested washing machine maintenance plan — the after-every-load habits, monthly deep-clean, hose and leveling schedule, hard-water descaling, front-load mold fix, and the DIY-vs-pro thresholds that decide whether a machine lasts 8 years or 15.
Updated
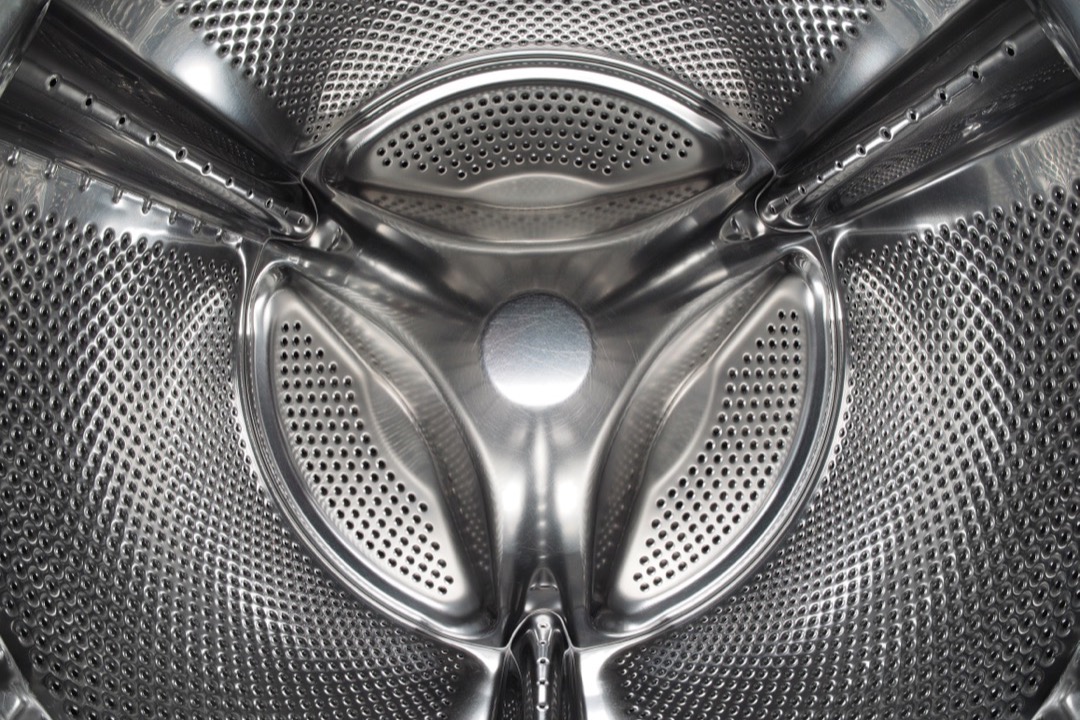
I have replaced more laundry-room floors than I would like to admit, and almost none of it was the washing machine’s fault. It was a five-dollar rubber hose that split at 2 a.m., or a front-loader that grew a black ring of mold in the door seal because nobody ever left the door open, or a machine that spent years rocking a quarter-inch off level until the bearings finally let go. Washing machines are not fragile — a well-treated one runs 12 to 15 years without drama. But they are unforgiving of two things: neglect and water. This guide is the exact maintenance routine I follow on my own machine and hand to clients, built to keep a washer out of the repair-or-replace decision for as long as physically possible, and to keep it from flooding your house in the meantime.
None of this is complicated or expensive. The whole plan is a 30-second habit after each load, a 20-minute cleaning session once a month, and a quarterly check that takes another 20 minutes. Do those three things and your machine will outlast the warranty by a decade. Skip them and you are on the 7-to-8-year neglect curve, where the machine either starts smelling so bad you replace it out of disgust or fails a major component right around the time it would have hit its prime.
The Washing Machine Maintenance Schedule at a Glance
Most guides bury the schedule inside a wall of text. Here is the whole thing in one table — tape it inside a laundry cabinet if that is what it takes.
| Frequency | Task |
|---|---|
| After every load | Wipe the door boot dry; leave the door and detergent drawer cracked open; check pockets before washing |
| Weekly | Wipe down the exterior and control panel; check under and behind for any dampness |
| Monthly | Run a tub-clean cycle (or hot wash with a machine cleaner); pull and rinse the detergent drawer; scrub the door gasket |
| Every 1–3 months (hard water) | Descale to remove limescale from the heating element and internals |
| Every 3 months | Clean the drain pump filter (front-loaders); check that the machine is level |
| Every 6 months | Inspect fill hoses for bulges, cracks, or corrosion at the fittings |
| Every 5 years | Replace the fill hoses outright — braided steel, not rubber |
The rhythm matters more than perfection. A machine that gets the after-every-load habit and a monthly clean will outlast one that gets an occasional heroic deep-clean but sits sealed shut between washes. Consistency beats intensity here every time.
After Every Load: The 30-Second Habits That Prevent Mold
The cheapest, highest-return maintenance you will ever do costs nothing and takes half a minute. When a load finishes, do three things.
First, wipe the door boot dry on a front-loader. Peel back the rubber gasket and run a dry cloth around the fold where water collects. That trapped water, mixed with detergent residue and lint, is exactly what mold and mildew grow in. This one habit prevents the single most common washing machine complaint I hear.
Second, leave the door and the detergent drawer open between loads. A washer that sits sealed shut is a warm, damp, dark box — a perfect incubator. Cracking the door and pulling the drawer out an inch lets the drum and dispenser air-dry completely. If you have kids or pets and a wide-open door is a hazard, even leaving it ajar an inch is enough.
Third, check pockets before you wash, not after. Coins, screws, and pocket debris are what end up jammed in the drain pump, and a bobby pin or a nail wedged past the drum can score the tub or puncture the boot. Thirty seconds of pocket-checking prevents a service call.
Top-loader owners get a slightly easier version of this: no boot to wipe, but still leave the lid up between loads so the tub can dry. If you are weighing which style fits your household and your tolerance for maintenance, our front-load vs. top-load washers comparison lays out the real trade-offs, mold-risk included.
Monthly: Deep-Clean the Drum, Drawer, and Drain Filter
Once a month, give the machine a proper cleaning. This is where the “for longer life” part actually happens.
Run a cleaning cycle. If your machine has a self-clean or tub-clean setting, use it — with either a washing-machine cleaner tablet or nothing at all if the manual says so. If it has no dedicated cycle, run the hottest, largest cycle empty with a machine cleaner. This clears detergent residue and biofilm from the drum and the parts of the plumbing a normal warm wash never heats enough to touch.
Pull and clean the detergent drawer. Most drawers release with a tab or a firm pull. Take it fully out, rinse off the crusted detergent and slimy softener residue, and scrub the cavity it slides into — that housing grows its own colony of gunk that a cleaning cycle never reaches. Dry it and slide it back.
Scrub the door gasket. On a front-loader, peel the boot back all the way around and clean the folds with a cloth or old toothbrush and cleaner. If you see black speckling, that is mold biofilm, and it needs to physically come off — a cleaning cycle will not dissolve it.
Clear the drain pump filter (front-loaders). Behind a small door at the bottom front is the drain filter, which catches coins, lint, and debris. Put a shallow pan and a towel down first — water will come out — then unscrew the cap and pull the lint and sludge. A clogged filter is the number-one cause of a front-loader that suddenly drains slowly or throws a drain error. If yours is already draining poorly and the filter is clean, the blockage may be downstream in the standpipe; our best drain cleaners roundup covers what safely clears a laundry standpipe without wrecking your pipes.
Every Three to Six Months: Hoses and Leveling
These two quarterly checks are boring, which is exactly why people skip them and pay for it later.
Inspect the fill hoses. Look at both supply hoses where they connect and along their length. Bulges, cracks, blistering, rust at the fittings, or any dampness at the connection means replace now, not later. Even a hose that looks perfect should be replaced on a five-year schedule, because rubber fails from the inside out — this is the single most important preventive item in the whole guide, and I cover why in the FAQ below. Switch to braided stainless-steel hoses when you replace them. If your laundry hookups are in a spot that can freeze — an unheated garage, a mudroom, an exterior wall — treat the hoses the way you treat any other freeze-vulnerable plumbing; the same logic in my home winterization checklist applies to the laundry room.
Check that the machine is level. Set a bubble level on top, front-to-back and side-to-side. If it rocks or reads off, adjust the leveling feet until it sits dead solid, then tighten the lock-nuts. An unlevel washer vibrates harder, walks across the floor on spin, and grinds its bearings toward an early death. This is a five-minute fix that quietly adds years to the machine — and it is the first thing to check if your washer has started shaking or migrating during the spin cycle.
Hard Water and Descaling: The Step Almost Everyone Skips
If you have hard water, descaling is not optional — and most of the country has some degree of hard water. Every time your machine heats water, dissolved calcium and magnesium precipitate onto the heating element and internal surfaces as limescale. That scale insulates the element so it works harder and burns out sooner, narrows internal passages, and traps detergent residue that turns into odor.
Check your water hardness with a cheap test strip or your city’s annual water-quality report. On hard water, descale every one to three months; on soft water, twice a year is plenty. You can use a purpose-made descaler or a plain white-vinegar cycle: two cups of white vinegar in the drum (not the detergent drawer) on the hottest, longest cycle, run empty. Vinegar is a mild acid, so use it as a periodic descaling tool, not a monthly habit — running it hot and often can shorten the life of the rubber boot and seals. Homes on a whole-house water softener get the easiest laundry maintenance of all and can descale far less often.
Scale is one of the quiet reasons a machine dies young in hard-water regions while the identical model lasts 15 years on soft water. It is invisible until the heating element fails, so it is worth staying ahead of.
Front-Load vs. Top-Load: How Maintenance Differs
The two designs need genuinely different care, so a maintenance routine that ignores the distinction misses the point.
Front-loaders wash in a small pool of water that tumbles clothes through it. That efficiency is exactly why they grow mold: the machine never flushes the rubber door boot, so residue and moisture linger there and in the low-water sump. Front-loaders live or die on the after-every-load door-open habit, the gasket scrub, and the drain-filter clearing.
Top-loaders have no sealed boot, so boot mold is a non-issue, but high-efficiency top-loaders with a low-profile impeller still develop tub residue and benefit from the monthly cleaning cycle. Older agitator top-loaders are the most maintenance-forgiving machines made — at the cost of being rougher on clothes and thirstier with water.
I keep this section short on purpose because I have a full breakdown elsewhere: the front-load vs. top-load comparison covers the efficiency, capacity, cost, and reliability trade-offs in depth. If you are actually shopping, the best front load washers, best top load washers, and best washer and dryer roundups flag which current models make routine maintenance easy versus which ones hide the filter and grow mold.
Why Front-Loaders Smell — and How to Actually Stop It
The musty front-loader smell is the most common washing machine complaint there is, and almost every fix people try treats the symptom instead of the cause. Here is the mechanism, because understanding it is what makes the fix stick.
High-efficiency front-loaders use very little water. That saves money and is gentle on clothes, but it means the machine never gets a full-tub flush that rinses away detergent, fabric softener, and body soil. Those residues collect in three places a cleaning cycle cannot reach: the folds of the door boot, the detergent dispenser and its housing, and the drain pump filter. Biofilm — a living mat of bacteria and mold — grows on that residue. Then the sealed door traps humidity and feeds it. The smell is the biofilm, not the drum.
So the real fix is mechanical, in this order: scrub the boot folds by hand, deep-clean the dispenser drawer and cavity, and clear the drain filter. Then remove its fuel — use less detergent (most people badly overdose HE machines), drop liquid fabric softener entirely on a front-loader, and leave the door and drawer open between loads so nothing stays damp. Do all of that and the smell goes away and stays away. Do only the cleaning cycle and it is back in a week. If you have fought this for years and are shopping for a replacement, prioritize models with a true self-clean cycle and an accessible filter — the best front load washers roundup calls those out specifically.
When to Call a Pro Instead of DIYing It
Nearly all of this is DIY. The judgment that saves a machine — and sometimes a house — is knowing the four symptoms that mean stop and get a professional in.
- A burning or electrical smell: unplug the machine and call for service. Do not run it again to “see if it does it twice.”
- Water pooling under or behind the machine that is not a door drip or a spill: that is a leak in the pump, tub, or internal hose, and it only gets worse.
- A grinding or roaring spin, or grease-flecked water: the drum bearings are failing. This is a real repair, and on many front-loaders it is the failure that tips the machine into replace-rather-than-repair.
- Tripping the breaker or GFCI: that is an electrical fault, not a laundry problem, and it needs a technician.
Everything short of those lines — cleaning, hoses, leveling, filter clearing, descaling — is squarely in DIY territory and is exactly the work that keeps a machine off the repair curve. When a repair quote does land, weigh it against the machine’s age: under 8 years and under half the cost of a new unit, fix it; older or pricier than that, and it is usually time to shop the best washer and dryer lineup for a replacement rather than pour money into a machine near the end of its life.
Maintenance is not glamorous, but the math is overwhelming. A few dollars of hoses, a monthly cleaning cycle, and a level floor are what separate a washer that dies at year 8 from one that runs cleanly past 15. The machines that flood laundry rooms and quit early are almost never the victims of bad luck — they are the ones nobody kept up with. Keep up with yours, and it will quietly do its job for a very long time.
Frequently Asked Questions
How often should you clean your washing machine?
What's the best thing to run through a washing machine to clean it — vinegar, baking soda, or a machine-cleaning tablet?
How often should washing machine fill hoses be replaced?
Why does my front-load washer smell musty even after I clean it?
Is it worth repairing an old washing machine, or better to replace it?
Related Articles
Front Load vs Top Load Washers: Which Is Right for Your Home?
laundry-appliances
7 Best Top Load Washers of 2026
laundry-appliances
7 Best Washers and Dryers of 2026
laundry-appliances
7 Best Front Load Washers of 2026
laundry-appliances
11 Best Drain Cleaners of 2026: A Contractor's Picks by Clog Type
plumbing
About the Reviewer

Jake Morrison, Licensed General Contractor
B.S. Construction Management, Purdue University
Jake Morrison has spent 14 years in residential construction and home renovation before founding DIYRated in 2026. After helping hundreds of homeowners choose the right tools and materials for their projects, he started writing the product guides he wished existed when he was starting out. Jake tests every major product recommendation in his workshop in Indianapolis and focuses on real-world performance over spec-sheet marketing.