How to Clean a Garbage Disposal: A Contractor's Method That Actually Kills the Smell
Licensed GC Jake Morrison on how to clean a garbage disposal properly. Why the splash guard is the real odor source, ice and rock salt vs plain ice, the citrus-peel myth, and why boiling water and bleach do more harm than good.
Updated
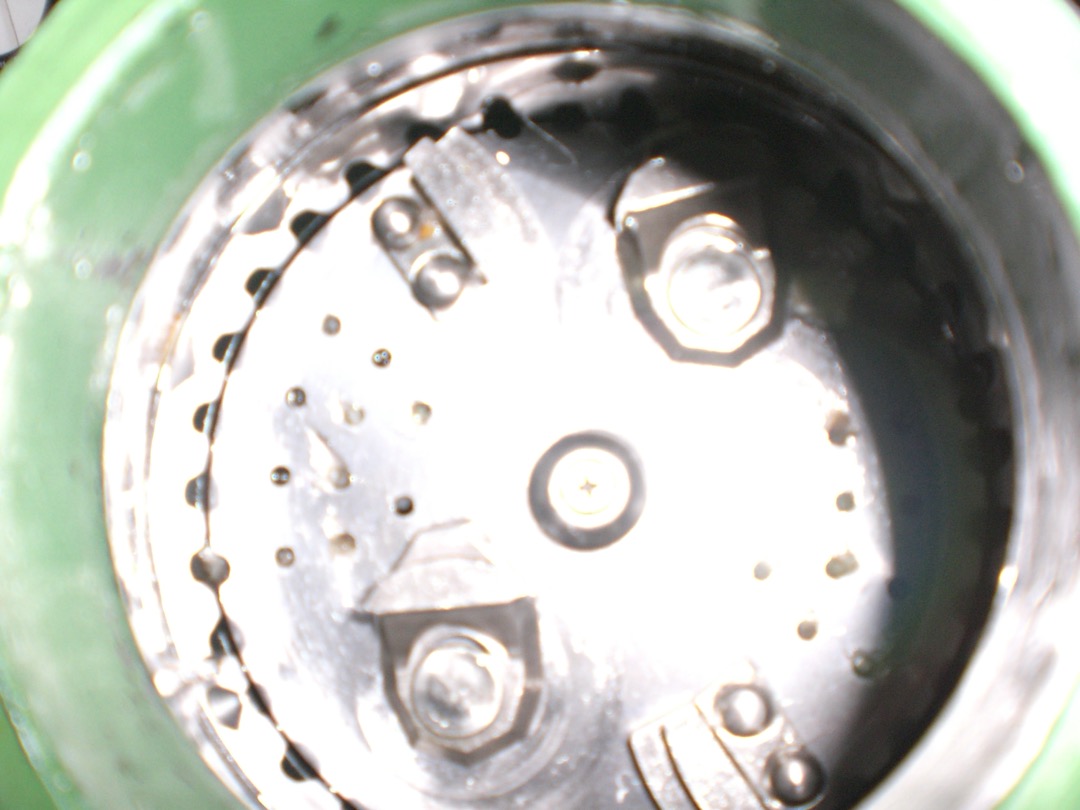
Most garbage disposals that smell do not need a cleaner. They need someone to lift up the black rubber flap in the sink drain and look underneath it.
I have been called out to “fix” a stinking disposal more times than I can count, and on the majority of those calls the motor, the chamber and the drain were fine. The smell was coming from a coat of old food and grease on the underside of the splash guard, sitting two inches below the homeowner’s nose every time they stood at the sink. They had run tablets through it, poured vinegar through it and ground a lemon in it. None of that touches the part of the flap that faces down.
So this guide starts there, then works through the rest of the unit in the order that actually matters. It also covers what to stop doing. Several of the most common disposal cleaning tips are useless, and two of them do real damage to the plumbing underneath.
How a Garbage Disposal Works, and Where the Gunk Lives
Knowing what is inside the unit explains every step that follows.
A disposal is a motor with a flat spinning plate on top of it. Two blunt metal lugs, called impellers, sit loose on that plate. When the motor spins, they fling food outward against a stationary ring with serrated slots around the chamber wall. That grind ring shreds the food into particles small enough to wash through the slots, down under the plate and out the discharge tube into your sink trap. There are no blades anywhere. The plate, the lugs and the ring all work by impact and shear.
Residue collects in four places:
- The underside of the splash guard. The rubber flap keeps food and water from spraying back up at you. Its underside catches a spray of ground food every time the unit runs and never gets rinsed by water flowing past it. This is the source of most disposal odor.
- The chamber wall and grind ring. Grease films the wall and packs into the ring’s slots, and fibrous scraps catch in it.
- Under the plate and around the lugs. Particles that do not wash out settle here.
- Downstream. The discharge tube, the P-trap and the dishwasher drain hose that feeds into the side of the disposal all hold residue that looks like a disposal problem but is not.
A good cleaning routine reaches the first three. The fourth is a drain job, which I cover near the end.
Before You Start: Kill the Power
Every step below is done with the power off unless I say to run the unit.
Turn off the wall switch. If the disposal plugs into an outlet under the sink, unplug it as well. If it is hardwired, turn it off at the breaker. Then flip the wall switch on to confirm nothing happens, and flip it back off.
Never put your hand in the chamber, even with the power off. The grind ring has sharp edges, the lugs can be sitting in a position where they pinch, and a switch that somebody else flips while you are reaching in is not a risk worth taking. Use tongs or needle-nose pliers to pull anything out. A decent pair of work gloves protects your hands from the splash guard’s underside and the grind ring when you are working near them, and a flashlight lets you see what you are doing.
What You Need
- Tongs or long needle-nose pliers
- A flashlight or headlamp
- An old toothbrush or a stiff dish brush, ideally a long-handled disposal brush
- Dish soap and baking soda
- A tray of ice cubes
- A cup of rock salt or coarse kosher salt
- White vinegar, optional
- A disposal cleaner, optional, for monthly maintenance after the deep clean
- The hex wrench that came with the unit, only if it is jammed
Step 1: Clear Out Anything That Should Not Be There
With the power off, shine the flashlight down into the chamber. You are looking for things that are lodged rather than residue: a twist tie, a fruit pit, a chicken bone, a chunk of rind, the occasional spoon. Pull them out with tongs.
If you see something wedged between a lug and the ring, do not force it with the tongs. That is a jam, and the fix is from underneath with the hex wrench, covered in the troubleshooting section below.
Step 2: Clean the Splash Guard
This is the step that fixes the smell, so do it properly.
Look at your guard first. On some disposals, including InSinkErator’s Evolution series, the splash guard is removable. Grip it and lift, and it pulls straight out of the sink flange. On most standard units it is fixed in place, and you clean it by folding each rubber flap up and back so the underside faces you.
If it comes out: wash it in the sink with hot water, dish soap and a brush, paying attention to the grooves where the flaps meet the rim. A paste of baking soda and a little water helps on a heavy film. Rinse it and press it back in firmly until it seats flat.
If it is fixed: put on gloves, push each flap up with your fingers and scrub the underside with a toothbrush and a paste of baking soda and dish soap. Work around the full circle, including the rim where the rubber meets the sink flange. Wipe it down with a damp cloth, then let the flaps fall back into place.
You will know you found the problem if the brush comes up black. On a disposal that has never had this done, expect it to take a few passes.
If the rubber is cracked, hardened or torn, replace the guard. They are an inexpensive part, sold by model, and a split flap sprays food into places you cannot clean.
Step 3: Scour the Chamber With Ice and Rock Salt
Fill the chamber about two-thirds with ice cubes and pour a cup of rock salt over them. Run cold water at a moderate flow, turn the disposal on and let it grind until the ice is gone.
The ice does the work here. It is hard enough to knock residue off the plate, the lugs and the grind ring as the impellers throw it around the chamber, and it does that without harming anything. The salt rides along as a coarse abrasive that scrubs the chamber wall. Plain ice alone works, but the salt is what makes it a real scouring pass rather than a rinse.
You will hear a lot of noise. That is normal.
Use cold water, not hot. Cold water keeps grease solid, so the disposal can break it up and flush it through as particles. Hot water melts it into a liquid that coats the discharge tube and trap and hardens again farther down the line.
Step 4: Scrub the Chamber Wall, If You Have a Brush
Ice gets most of it. A long-handled disposal brush gets the rest. With the power off, push it down through the splash guard and work it around the chamber wall and the grind ring. This is the only way to apply real mechanical force to the wall, and on a chamber with years of grease film it makes a visible difference.
The best garbage disposal cleaners roundup includes a brush pick for exactly this reason. A tablet treats the chamber chemically. A brush scrubs it.
Step 5: Deodorize and Maintain
Once the guard and chamber are physically clean, a deodorizing step keeps them that way.
Baking soda and vinegar. Pour half a cup of baking soda into the chamber, then a cup of white vinegar, let it fizz for ten minutes and flush with cold water. Be realistic about it. The fizz is a neutralization reaction that makes gas, water and a little sodium acetate. It is mildly deodorizing and helps on a lightly funky sink. It is not a degreaser and it does not scrub, so it will not fix a chamber that skipped steps 2 through 4.
A disposal cleaner tablet or pod. These foam up under the splash guard and over the chamber wall, which are the two surfaces that cause most odor, and they are the easiest way to keep up a monthly routine. Run a slow trickle of cold water, not a full stream, or you flush the cleaner out before it works. I compare formats and cost per dose in the disposal cleaner roundup, including which ones state they are septic-safe.
Citrus peel. A few thin strips of lemon or orange peel with cold water running leave the sink smelling good for a day. That is all they do. Citrus oil masks odor, and the mild acid barely touches a real grease film. Feed small pieces a few at a time. A whole lemon half or a handful of thick rind is fibrous enough to bog down a small motor.
Step 6: Flush It
Put the stopper in the sink, fill the basin a few inches deep with cold water and a squirt of dish soap, then pull the stopper and run the disposal while it drains. The volume of water moving through at once carries loosened residue through the discharge tube and trap in a way a running tap does not.
What Not to Put Down the Disposal to Clean It
Some widely shared cleaning tips range from pointless to harmful.
Bleach. InSinkErator’s owner guidance says flatly never to put bleach in a disposer. Repeated exposure hardens and cracks the rubber splash guard and seals and attacks metal parts. It also does nothing about the grease film that produces the smell. If you are on a septic system, chlorine is doubly unwelcome because it kills the bacteria the tank runs on.
Boiling water. Most under-sink drain lines are PVC with slip-joint connections. PVC is rated for continuous service only up to about 140 degrees Fahrenheit, and repeated kettles of boiling water can soften and loosen those joints until the trap starts to weep. It also melts grease and moves it downstream where it hardens again. Hot tap water to rinse the sink is fine.
Caustic drain openers. These are designed to pour through a pipe and keep moving. A disposal has a chamber that holds them against the rubber guard, the seals and the aluminum and steel inside, which is exactly the exposure you do not want. If you cannot get the clog out and the chemical does not clear it, you now have a chamber of caustic liquid to deal with. If the sink drain is actually clogged below the disposal, my guide to how to unclog a drain covers the mechanical route I try first, and the best drain cleaners guide covers which chemistry is safe for which pipe when you need one.
Coffee grounds, eggshells and grease. These are not cleaning agents, despite what you may have heard about eggshells “sharpening” anything. Grounds and shell membranes pack into the discharge tube and trap like sand. Grease coats everything. Put all three in the trash.
When the Problem Is Not Dirt
Cleaning fixes odor. It does not fix a mechanical fault, and a few symptoms tell you which one you have.
It hums but does not spin. The flywheel is jammed. Turn it off right away, because a stalled motor overheats fast. Cut the power, then find the hex socket in the center of the bottom of the unit. Most disposals ship with a small hex wrench for it, and a quarter-inch Allen key fits most InSinkErator models. If yours has gone missing, the hex bits in most screwdriver sets cover it. Work the flywheel back and forth until it turns freely, pull the object out from above with tongs, then press the reset button on the underside of the unit and restore power.
It is completely silent. Check the breaker and the outlet, then press the reset button. The unit’s thermal overload trips it when the motor gets too hot, and it will stay off until reset. If it still does nothing, the motor or switch has failed.
It trips the reset repeatedly, leaks from the body, or smells like hot electrical insulation. That is not a cleaning issue. A leak from the bottom of the unit usually means an internal seal has failed, which is not repairable. Disposals typically last around a decade, and at that point replacement is the fix. My garbage disposal roundup covers which units swap onto an existing mount without replumbing, which makes a like-for-like replacement an afternoon job.
The disposal is clean but the sink still smells. Look downstream. Unscrew the P-trap slip nuts with a bucket underneath and check it. Check the dishwasher drain hose where it enters the side of the disposal, which can hold a slug of old food. A sink-area smell that persists after both are clean may be coming from the drain line itself or a dry trap elsewhere.
A Cleaning Schedule That Keeps It From Coming Back
- After every use: run cold water for fifteen to twenty seconds after the grinding stops. This flushes particles out of the chamber before they settle.
- Every two to four weeks: splash guard scrub plus an ice-and-rock-salt pass. Weekly if you grind a lot or cook with a lot of fat.
- Monthly: a disposal cleaner tablet or pod, or the baking soda and vinegar routine.
- A few times a year: the full sequence above, including the brush and the soapy-water flush.
Small Changes Around the Sink That Help
A lot of disposal odor is really a flow problem. A weak faucet that dribbles cold water through the unit does not carry particles out of the chamber, and a kitchen that runs the disposal with a trickle builds residue faster. If your faucet’s flow is poor or its sprayer is too weak to rinse the splash guard, a new unit from the kitchen faucet roundup with a strong pull-down sprayer makes the daily rinse far more effective.
Hard water adds a separate layer. Mineral scale builds on the grind ring and the chamber wall and gives grease something to cling to. If your faucet aerator and kettle scale up quickly, a periodic citric acid cleaner in the disposal helps, and the water filter guide explains which filter types reduce hardness and which do not.
The Bottom Line
To clean a garbage disposal properly, clean the splash guard first, because that is where the smell lives. Then scour the chamber with ice and rock salt on cold water, and use a brush if you have one. After that, deodorize with a cleaner tablet, baking soda and vinegar, or a little citrus. Skip the bleach, the boiling water and the drain opener.
Do the guard and ice routine monthly and run cold water after every use, and most disposals never smell again. If yours still does after all of that, the problem is either downstream in the drain or mechanical inside the unit, and neither one gets fixed by another cleaning tablet.
Frequently Asked Questions
How often should you clean a garbage disposal?
Why does my garbage disposal still smell after I clean it?
Does ice really sharpen garbage disposal blades?
Can I pour bleach or boiling water down a garbage disposal?
Why is my garbage disposal humming but not spinning?
Is it safe to put lemon or orange peels in a garbage disposal?
Related Articles
11 Best Garbage Disposal Cleaners of 2026: A Contractor's Picks by Format
plumbing
10 Best Garbage Disposals of 2026: A Contractor's Picks by HP, Brand, and Sink
plumbing
11 Best Drain Cleaners of 2026: A Contractor's Picks by Clog Type
plumbing
How to Unclog Any Drain Without Chemicals: A Licensed GC's Method-by-Method Guide
hand-tools
9 Best Kitchen Faucets of 2026
kitchen-tools
About the Reviewer

Jake Morrison, Licensed General Contractor
B.S. Construction Management, Purdue University
Jake Morrison has spent 14 years in residential construction and home renovation before founding DIYRated in 2026. After helping hundreds of homeowners choose the right tools and materials for their projects, he started writing the product guides he wished existed when he was starting out. Jake tests every major product recommendation in his workshop in Indianapolis and focuses on real-world performance over spec-sheet marketing.