How to Deep Clean Every Room in Your House: A Contractor's Room-by-Room Guide
By Jake Morrison, Licensed General Contractor Updated
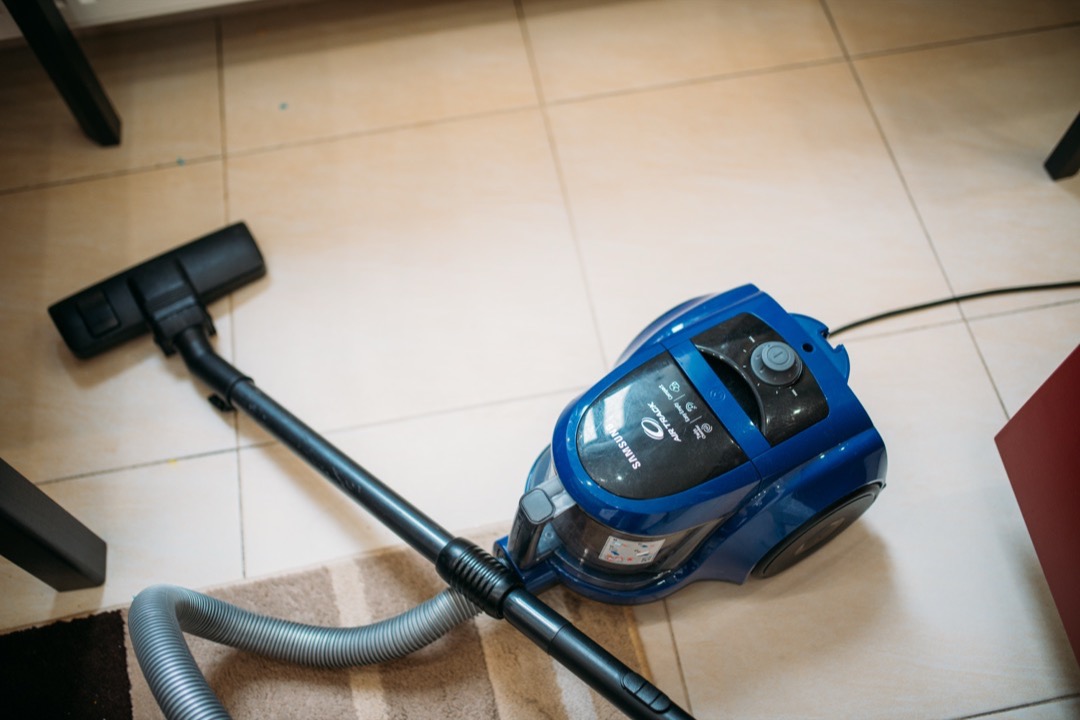
Most cleaning guides treat a deep clean as a cosmetic project — make the house look clean for company. I look at it differently, because I spend my working life on the repair side of what deferred deep cleaning turns into. The grease fire that started in a range hood nobody had cleaned in three years. The bathroom subfloor I had to tear out because mildew on neglected grout became black mold in the substrate. The dryer that quit early and scorched its own vent line packed solid with lint. Deep cleaning is not about appearances. It is the cheapest preventive maintenance a homeowner can do, and the buildup it removes is the same buildup that quietly runs up repair bills.
This is the room-by-room deep cleaning checklist I actually use — on client walkthroughs and on my own house. It follows one sequence that saves more rework than any other tip: top-to-bottom, dry-to-wet, dirtiest room first. For each room I will tell you what to clean, what damage you are preventing, and where the right tool beats elbow grease. It pairs naturally with my spring home maintenance checklist, which covers the exterior and mechanical side of the same twice-a-year rhythm.
The One Rule That Saves the Most Work
Before you touch a single room, understand the order of operations, because getting it wrong means cleaning everything twice.
Top to bottom. Dust and debris fall downward. Clean the ceiling fan, light fixtures, crown molding, and the tops of door casings and shelves first, then work down to picture frames, blinds, and baseboards, and finish at the floor. Mop before you dust and you will re-grit the floor within the hour.
Dry to wet. Do all the dusting and vacuuming before any mopping or wet-wiping. Water plus loose dust equals mud, and mud gets pushed into corners and grout lines where it sets.
Dirtiest room first. Kitchens and bathrooms hold the most buildup and take the most energy — do them while you are fresh. Bedrooms and living areas are lighter work and make a good finish.
Declutter before you clean. You cannot deep clean a surface you cannot reach. Run a fast pass with a laundry basket per room — everything out of place goes in, and you sort the basket at the very end so you are not breaking rhythm walking items to their homes.
Everything below assumes this sequence. Now, room by room.
Kitchen
The kitchen is where deep cleaning most directly protects your house, because grease is both a fire risk and a magnet for everything else.
Start by spraying the oven interior with a degreasing oven cleaner (or run the self-clean cycle) so it dwells while you work the rest of the room. Pull the range hood filter and either run it through the dishwasher or soak it in hot degreaser — a grease-clogged hood filter is a genuine fire hazard and the single most-skipped kitchen task. Degrease the stovetop and backsplash, where airborne cooking grease films everything within a few feet of the range.
Empty the fridge and wipe the interior, discard expired food, and vacuum the condenser coils behind or beneath the unit — dust-choked coils make the compressor work harder and die younger. Clean inside the microwave (steam a bowl of water and lemon for two minutes, then wipe). Run an empty hot cycle with a cup of vinegar in the dishwasher, and clear the filter at the base — most people never knew it had one. If your kitchen sink drains slowly or smells, this is the moment to deal with it; my drain cleaner roundup covers the enzyme and mechanical options for a proper clearing, and it is worth understanding how to unclog a drain before it becomes a backup. Freshen the garbage disposal by grinding ice and citrus peel, and if yours is corroded, leaking, or perpetually jammed, a deep clean is a good time to assess whether it needs replacing — I cover the tiers in my garbage disposals guide.
Wipe cabinet fronts (grease films these too), clear and disinfect counters, then do the floor last — vacuum, then mop. On sealed tile, a steam mop sanitizes with heat and leaves no sticky residue, which matters in the room where you prep food. If your dishwasher is aging out, note it for later — my dishwasher brands guide breaks down what is worth buying.
Bathrooms
Bathrooms are the other high-stakes room, because standing moisture plus organic soil equals mildew, and mildew left alone becomes the mold-and-rot repairs I get called for.
Spray the tub, shower walls, and toilet bowl with cleaner first and let them dwell. While they sit, dust the exhaust fan cover (a clogged bathroom fan cannot pull moisture out, which is half the mildew problem right there), clear cobwebs, and wipe light fixtures and the mirror. Come back to the wet work: scrub the tub and shower, and give real attention to grout and caulk lines — an oxygen-bleach or dedicated grout cleaner left to dwell 10–15 minutes and worked with a stiff grout brush is the difference between grout that lasts and grout that fails. If caulk is cracked, peeling, or blackened past cleaning, cut it out and re-caulk; that $15 tube prevents a four-figure subfloor repair.
Attack hard-water scale on glass doors and fixtures with an acidic descaler, not muscle — scale dissolves, it does not scrub off. Clean the toilet inside, outside, behind the base, and the tank. Empty and wipe the vanity and medicine cabinet. Launder or replace the shower-curtain liner and bath mats. Vacuum and mop the floor last, getting behind the toilet where dust and hair collect.
Bedrooms
Bedrooms are lighter labor but carry the biggest hidden air-quality payoff, because this is where you spend a third of your life breathing.
Strip the bed and wash all bedding in hot water. Vacuum the mattress with an upholstery tool, then rotate (or flip, if it is a flippable model) — this addresses dust mites and dander that no surface cleaning touches. A handheld cordless vacuum makes the mattress, headboard, and upholstery quick enough that you will actually do it. Dust top-down: ceiling fan (the blades throw dust across the whole room every time they spin), light fixtures, then dressers, nightstands, and lampshades. Wipe down blinds and wash or shake out curtains — curtains are a major reservoir of settled dust and pollen.
Purge and wipe closet shelves while everything is out. Move furniture and vacuum underneath, where dust bunnies and allergens concentrate. Finish with the floor. If anyone in the home has allergies, this room and the living room are where a robot vacuum running daily between deep cleans keeps the dander load down; it is one of the best air-quality investments in a pet or allergy household, and it pairs well with the steps in my indoor air quality guide.
Living Areas
Living rooms accumulate the most upholstery soil and electronics dust, and both are easy to ignore because they hide in plain sight.
Remove the couch cushions and vacuum deep into the crevices — you will find a startling amount of crumbs, dust, and pet hair. For fabric upholstery, a light sprinkle of baking soda left ten minutes before vacuuming pulls out odor. Dust electronics and the tops and backs of entertainment centers with a microfiber cloth; static makes screens and consoles dust magnets. Wipe framed art and photos with a damp cloth rather than spraying cleaner directly onto glass, where overspray runs behind the frame.
The big job in living areas is the carpet and rugs. Vacuuming lifts surface debris, but a twice-a-year deep clean is when you extract the embedded soil that ages carpet and holds allergens — this is a job where a carpet cleaner that injects and recovers cleaning solution does what no upright vacuum can. For hard floors, vacuum then steam or damp-mop. Move furniture and get the perimeter and under-couch zones where a normal weekly pass never reaches. A capable cordless vacuum is what turns “I’ll do it next time” into something you actually finish, because the tool is easy to grab.
Utility, Laundry, and Entryway
These are the rooms every generic checklist forgets, and they carry two of the highest-failure-cost tasks in the house.
Clear the dryer vent. Lint packed in the vent line is a fire hazard and the reason a dryer runs hot, takes two cycles to dry a load, and burns out early. Disconnect the duct, vacuum it out, and clear the exterior vent flap. Clean the lint trap housing, not just the screen. While you are here, wipe down the washer’s gasket and drum and run a cleaning cycle — my washing machine maintenance guide covers the full routine. If your utility space or garage collects sawdust, drywall dust, or workshop debris, a shop vac is the tool for the coarse cleanup a household vacuum cannot handle without clogging.
In the entryway and mudroom, shake out and wash the mats that trap the grit tracked in from outside — clean mats there keep grit out of the whole house. Wipe down the door, hardware, and the wall areas around light switches where hands leave the most soil.
Whole-House Systems
Finally, the systems that serve every room and pay back the most for a little attention.
Replace your HVAC filters — a loaded filter chokes airflow, makes the system work harder, and stops filtering the air you breathe. Wipe down supply registers and return grilles where dust cakes. If water quality is part of why surfaces scale up and appliances scale out, a deep clean is a good moment to evaluate filtration; my water filters guide walks through the options. And check smoke and CO detectors while you are already moving through every room with a ladder out.
Done twice a year, in the right sequence, with the right tool for each job, a room-by-room deep clean is not a chore you dread — it is the maintenance that keeps small buildup from turning into the repairs I get paid to fix. Fold it into your seasonal rhythm alongside the spring maintenance checklist, and your house will run cleaner, breathe better, and cost you less.
Frequently Asked Questions
Where should I start when deep cleaning a room?
How often should you deep clean your house?
What is the fastest way to deep clean a messy house?
What is the hardest thing to clean in a house?
What is the best time of year to deep clean your house?
Related Articles
About the Reviewer

Jake Morrison, Licensed General Contractor
B.S. Construction Management, Purdue University
Jake Morrison has spent 14 years in residential construction and home renovation before founding DIYRated in 2026. After helping hundreds of homeowners choose the right tools and materials for their projects, he started writing the product guides he wished existed when he was starting out. Jake builds each pick from spec sheets, manuals and verified buyer reviews, and weighs how tools hold up for real owners over marketing claims.